The more I coach people, the more I discover that the key to solving so many mistakes is simply adding speed to what is being done already. So often the crash at the end of a gybe, the lack of height in a jump or pogoing up and down on a foil is all happening because of speed, or rather a lack of it. In this blog post, I’m gonna help you identify when riding too slow is the root of your problem and then how to increase your pace whilst maintaining control so you don’t scare the hell out of yourself!!!
Also when I say you need to ride faster, that doesn’t always mean riding at Mach-10. A small but significant increase in speed, which might still feel scary/exhilarating, can make all the difference.
For some of you, just the realisation that riding faster could be enough. You may be happy riding at speed and just not realising that you are slowing down before performing a trick or technique. If that applies to you, then no need to read on. Just Remember to add speed the next time you screw up and see if that fixes the problem.
When might riding faster be helpful?
Let’s start by running through a few situations for each kiting discipline where a lack of speed might be the root cause for a lack of progression. Before I start, let’s be clear, speed “might” be the issue, there are of course a lot of other mistakes that could be holding you back, but speed is always a good area to consider.

Kiteboarding
- Jumping higher – in fact, any jump will benefit from speed. Whether it’s going from a few inches off the water, to 2m, getting over 5m or that next step to 10m – riding faster will be a big part of helping to make this happen.
- Riding Toeside – it can feel like such an odd position to start with and it’s easy to ride slowly to maintain control, but all too often that just leads to a bad stance and stalling. Speed will make the board feel more comfortable and as you improve it will have a big effect on general kiting skills.
Kitesurfing
- Carving Turns / Gybing – losing speed through the gybe and as you exit is so often due to tentatively entering at a slow speed. Entering slowly actually requires you to be super aggressive with your carve and kite flying. If you enter with a little more speed, you can actually carve more gently through the turn.
- Foot Changes – if the board is travelling slowly then any weight changes are more likely to cause it to tip or sink. If you are skimming over the water with speed you’ll have a little more room for error
- Bottom turning on a wave – maintaining speed through a bottom turn is crucial but a big issue for many kitesurfers. Here it’s both about knowing how to generate and maintain speed whilst feeling confident that you can stay in control.
Kitefoiling
- Rise and Glide – if you find yourself pogoing up and down as you try to rise up on the foil, the most common mistake is a lack of speed off the foil before you rise up. So it’s important to be able to ride with speed and control off the foil but also once foiling to ensure you stay up and gliding.
- Carving Turns / Gybing – just like with carves on a surfboard, dropping off the foil during a carve, along with many other mistakes, stem from entering with too little speed.
- Foot Change – speed gives stability on the foil, and more time if you make mistakes, both of which can be crucial during the foot change to stop you accidentally breaching or losing speed, touching down and crashing.
How do I ride fast?
Whether you are riding a twintip, surfboard or foilboard, the key steps to increasing your speed are the same. There are a few elements unique to each discipline, which I’ll cover when needed. But ultimately we need to create more power, deliver that to the board (or foil) and find ways to maintain control as we accelerate.
Let’s look at the three key elements that will come together to help you achieve this:
- Kite Position
- Bar Position
- Board Position
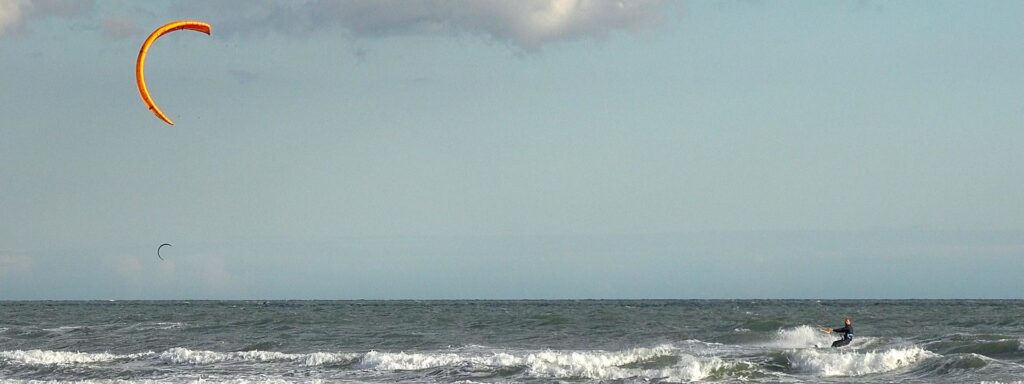
Kite Position
Get the kite lower – drop it slowly and steadily build speed
Your kite is the power source, and it will generate more power the lower it is in the powerzone. The sweet spot for speed and control is holding the kite at 45 degrees and really that is the highest you want it. If you put it lower still, it can be possible to transfer that power to the board more efficiently, with the right technique, setting you up ready to perform a certain manoeuvre.
If you are riding along comfortably and in control, slowly lower the kite to 45 or lower. In this position, we are not looking for a surge of power because we already have some board speed and riding along nicely. We are moving the kite slowly down to gradually increase speed so we can maintain control.
If you are less powered and struggling to ride smoothly, you may need to drop the kite faster or be flying it up and down to build initial speed. Your ultimate goal is to park the kite low when you have built up enough board speed and apparent wind.
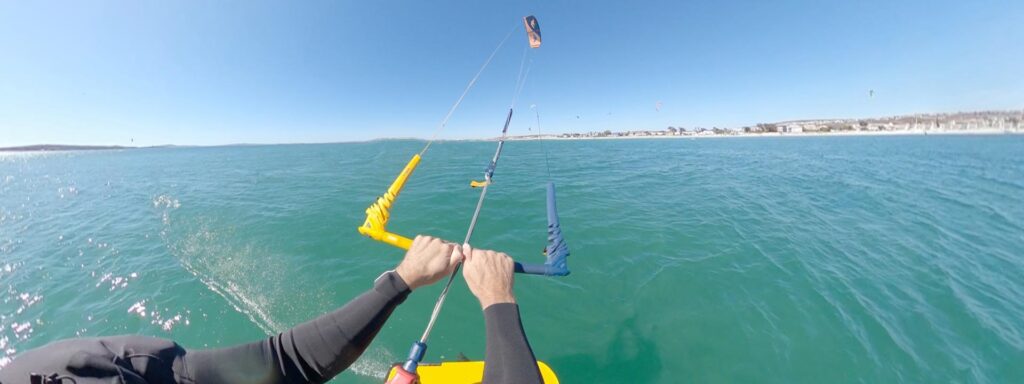
Bar Position
Sheet in slowly. If you sheet out, just do it with small amounts
It will come as no surprise that sheeting in is going to be important here. Generally, we all think – sheet in for more power, sheet out to depower – it’s not always that straight forward but here the basic principle holds true. The key is:
Gradually sheeting in
If you just pull in hard you may stall the kite or get a surge of power you can’t control. You need to:
- Slowly sheet in by maybe just a centimetre
- Feel the increase in power
- Feed that down into the board
- Feel some acceleration forwards
- Are you still in control?
- Then sheet in another centimetre and repeat.
At times, you’ll probably need to sheet out if you can’t control the power channelled down into the board. Again, just sheet out a small amount, just enough to regain control. If you sheet out completely you’ll lose all power and be back to square one.
These small movements in and out, are what will help you maintain control as you gain experience of how to ride the board and handle the increase in power.
Board Position
Edge harder / Cant Over
Unsurprisingly, the board position is one of those areas where we can see some difference between how we handle things on a twintip, surfboard or foil.
For all disciplines, the lower kite means the pull is lower and we need to use the board to resist that lower sideways pull.
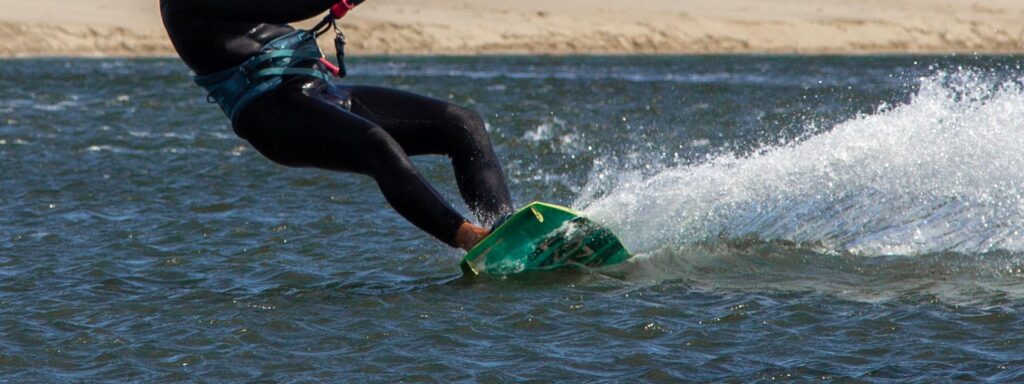
Kiteboarding / Twintip
On a twintip, you need the rail of the board fully dug deep in the water to convert that power into forward speed.
In flatter water, this is far more straightforward as you can keep a constant edge engaged but as the water gets more choppy or even wavey, this will be more challenging. You can achieve this by keeping the board angled right over and aim to cut through the chop rather than trying to constantly roll up and over every little bump. And in many ways going fast will give you a smoother ride, as you can cut through the chop, and even if you lose contact with the water, you’ll slice straight back into it when you reconnect, maintaining speed and control.
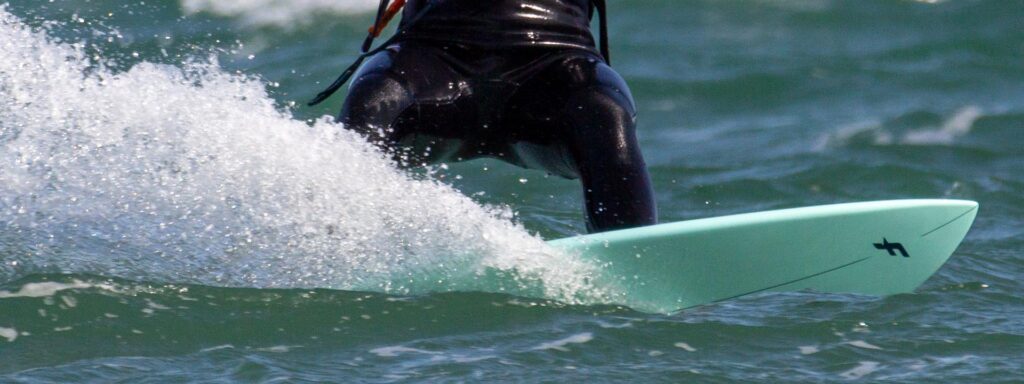
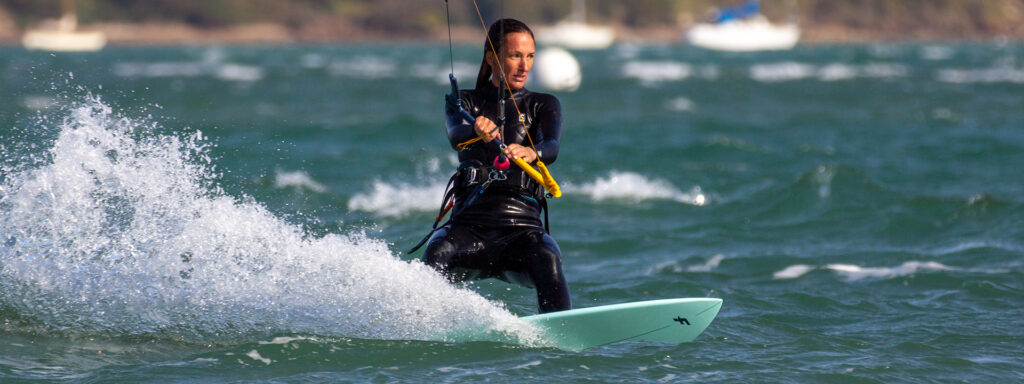
Kitesurfing
On a surfboard, when powered up you can ride much like a twintip burying the rail and edging hard, but you also have some big fins sticking out the back of the board which gives you some other options. When moderately or underpowered you can still work to ride fast but keep the board slightly flatter pushing your feet sideways so that you drive off the fins. This technique works well as you can be dynamic and adapt to changes in the wind and maintain that speed through lulls and gusts.
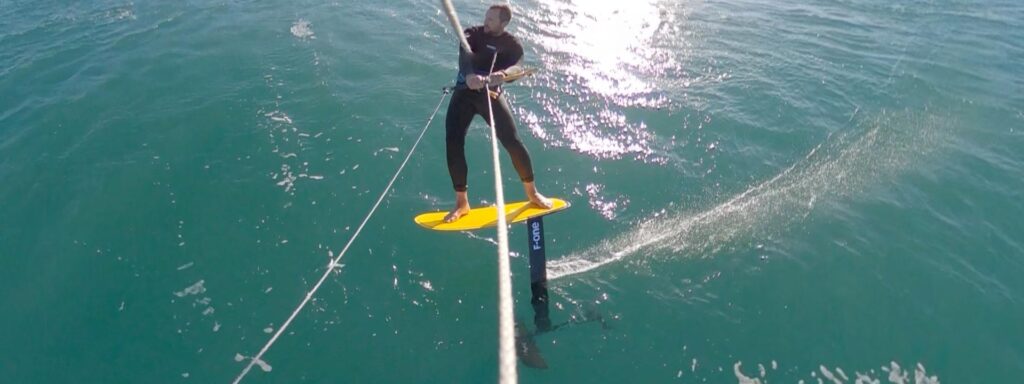
Kitefoiling
For foiling, we are essentially doing the same as on a twintip – canting the board and foil over to counteract against the lower pull from the kite. The lower the kite, the more you need to cant the board and foil, and the faster you will be able to go and maintain control.
Practice Drills for Riding Faster
Here’s your homework for next time you are out on the water.
1) Focus on Speed Runs First
To start with, whatever technique or trick you are ultimately wanting to improve, but that specific manoeuvre aside and just focus on the practice of increasing your speed riding in a straight line. One thing at a time and break the skill development down into parts. Once you have the speed in control and comfortable, you can start integrating it into the main skill or trick.
2) Long Runs
As I often recommend, take a short period – 5-10 minutes and just focus on doing long runs working on your speed. Build up slowly, making small changes to kite, bar, board and body positions. Don’t rush in and slam your kite down a foot off the water, work up to that, getting used to lower and lower kites over time.
3) Different Angles
- Upwind – Most people will probably find it easier to first practice speed runs riding closer to the wind or even properly upwind.
- Beam/Across the wind – Once you feel comfortable and in control, try bearing off a little so you are riding on a beam reach, across the wind. You will go faster and the board will require more effort to keep it pointed in the right direction.
- Broad/Downwind – Finally bear off further and ride on a broad reach. How broad you can go will depend on the wind strength and how powered up you are. Here you will have the opportunity to go the fastest. The board will feel at its loosest and will need maximum control from your legs and lower body/core to keep it in the correct position..
4) Then Combine with a gybe, foot change, jump etc etc
Now that you feel you can handle more speed, it’s time to carry that speed into the trick or technique you want to improve. Your first attempts may not go quite as planned, as the timing for any kite and/or board movements may need to be adjusted, but stick with it and start tweaking your technique to bring it all together.
I hope the understanding of how to increase your speed gives you the confidence to move into the next gear and see the effects it will have on your overall kiting performance.
Happy speeding!