Heading out in waves on a surfboard can be intimidating for those not used to swell, particularly if you’re riding strapless. Even more so when you try to work out how to drop down a wave, carve across the bottom, head back up the face, hit the lip, all the while staying in control and then, doing it all again.
But there is an easier way – practice your carving turns on flatter water and then perform them as a single carve on a wave face – our free Playing in Waves videos explains this below. The aim is to learn these skills gradually and then when you do drop down a wave face, you’ll have a better chance of properly riding the wave.
Pre-requisites: Gybes and Powered Carving Turns
We’re not going to look at this in much detail, as we have covered this before, but practicing your carving turn on flat water or the flat sections between waves is the best way to get the feeling for carving a surfboard; your stance and proper weight distribution; and getting the timing right for keeping your kite in sync with your board.
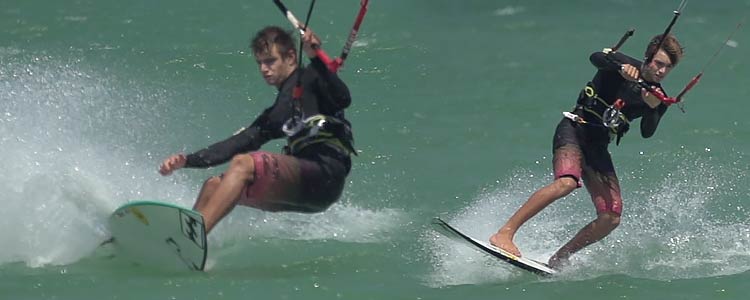
And don’t ignore the all-important foot change – yes you can get away with riding toeside one way and heelside the other but riding toeside is not as quick to get upwind and more tiring on your body. But most importantly it’s the skills you gain by mastering the foot change that will give you insights into how your kite affects the way you can control the board and allows you to quickly gybe onto the wave. It’s all about catching more waves!
What you should be practising:
- Foot change to toeside, then a gentle carve from toeside to heelside
- Foot change to toeside, then a powered carve from toeside to heelside
- Gentle carve from heelside to toeside, then a foot change back to heelside
- Power carve from heelside to toeside, flowing straight into a foot change back to heelside
Check out the Carving Turns Introduction video to get started.
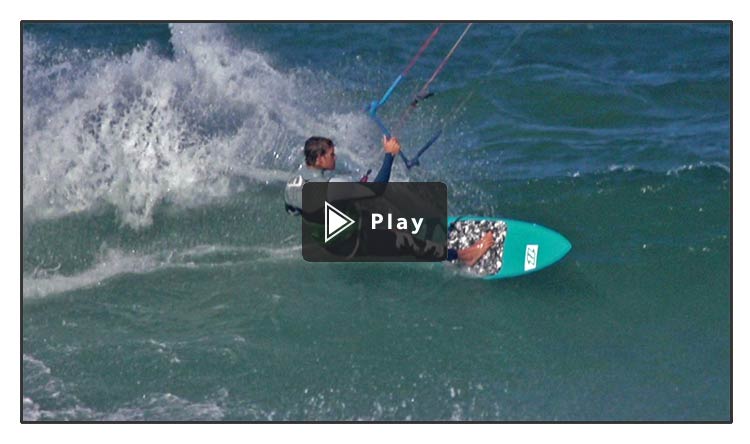
Playing in Waves: Carving onto a Wave Face
So now you want to head out into smaller waves and take those powered carving turns, you’ve practised on flatter water, and perform them on an approaching wave face. The aim is to be heading out towards a wave, carve across the wave face and then head back in.

This helps because you only have to turn the kite once, allowing you to experience some of the additional power that a wave adds to turn and the changes in balance needed when you head up and down a wave face.
The Playing in Waves video covers everything we are going to outline next and is free to watch on the Progression Player (iOS, Android and Web), all you need is a free Progression Profile.
Gentle Carves
Let’s start with gentle carves. Try these on swells that have yet to form into waves or less steep waves.

Your two options are as follows:
- Riding out heelside, carve gently onto a wave coming out toeside
- Riding out comfortably on your toeside edge, carve gently on a wave coming out heelside
For both of these gentle carves, use gentler movements of the kite and start to see how the wave adds some speed to your turn.
Also, ensure you are carving on the face not just a turn in front of the wave.
Remember these two key elements, which apply to all these practice carves:
- Ensure your back foot is right at the back of the tail pad
- Start turning your kite before your board
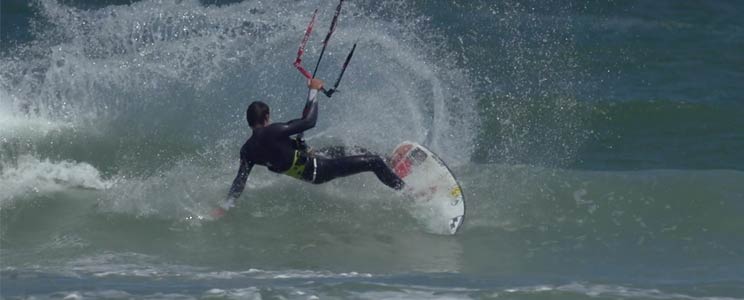
Powered Carves
Now you can start approaching steeper waves, which are closer to breaking, with more speed and perform powered carving turns.
Again you have two options to try:
- Riding out heelside, carve with power on a wave coming out toeside
- Riding out comfortably on your toeside edge, carve with power on to a wave coming out heelside
What you’ll notice is by entering with more speed and carving harder, you’ll really accelerate through the turn. The wave’s forward speed is giving you an extra boost, adding even more speed to the carve.
What you need to pay the most attention too is your kite and now you need to be flying it more aggressively. As always the kite turns before the board and ensure you keep it moving so it is flying back towards the beach and not left overhead.
This is where you first start to appreciate, that though the wave has power you can use, you can’t just depend on the wave, the kite needs to be in the correct position, even if it is generating very little power. This way it doesn’t counteract your board and bodies forward momentum.
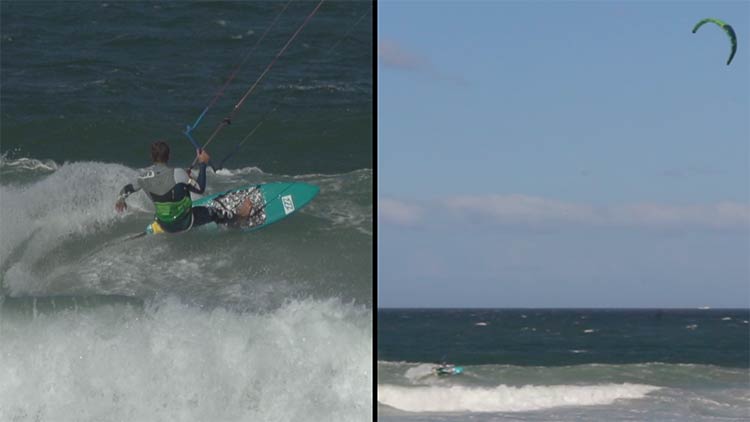
Last Minute Foot Change
A final challenge that will help you catch more waves and improve your balance is a speedy foot change:
- Riding out heelside, carve with power on a wave coming out toeside but immediately change your feet to heelside
- Riding out heelside, change your feet just before you reach the wave and then carve with power coming out heelside

With both of these, the key is being able to change your feet at speed with quick but subtle movements of the kite. This is also great practice on flatter water first with more gentler carves to get your timings right before adding in waves to make things more exciting!
Riding Waves, Frontside, Backside and Connecting Turns
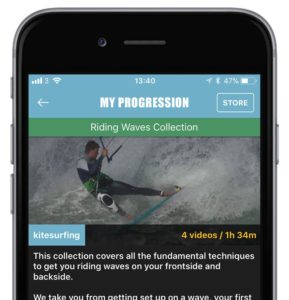 Once you feel confident with some of these carves, staying in control of both the kite and board, then it’s time to move on and start picking up waves and riding them properly. There is a lot more master both with repeated changes in body position for the different bottom and top turns, and vitally the constant tweaking of your kite to ensure you can stay on the wave. Whether you are riding Frontside or Backside, start by focusing on getting one good turn and then looking at connecting multiple turns together. We’ll break this down in a future blog post but for now, we do have the Riding Waves Collection which covers all this in detail and available to stream now online or download through the Progression Player App.
Any questions or mistakes you are encountering, ask away in the comments.