Hands up who can’t swap their feet with grace and speed?
And who thinks “I’m happy riding toeside, no need to change my feet!”?
Whether you ride strapped or strapless, learning how to gybe is an essential skill – , whether you are swapping your feet before or after the turn.
Why? I’ll give you three good reasons?
- However much you might like to convince yourself, anyone will ride better on their heelside edge, compared to riding toeside. You’ll be more in control and most importantly you’ll point higher upwind and getting upwind quicker means catching more waves.
- The skills you’ll learn mastering the foot change will make you a better kite-surfer. You’ll better understand the relationship between your kite position and weight distribution on the board, and this will pay off when it comes to improving your wave riding technique.
- Once you get it, it feels great! Like most things in kiting, when you can’t do it, it feels like shit but when you get it, it feels so natural. The foot change is no different. Carving round a turn at full speed and having your feet dance fluidly around underneath you, without losing any speed, that just feels amazing.
How to Change Your Feet
Overall start with one main focus:
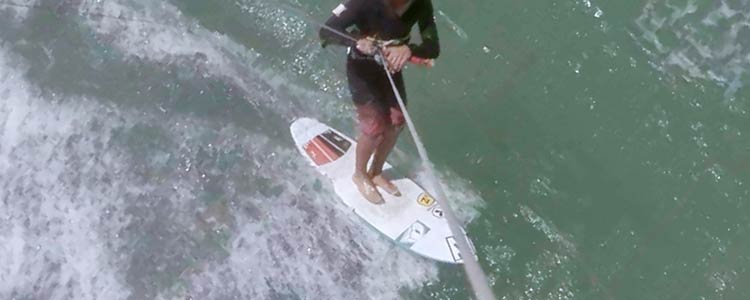
Getting your body weight forward over your front foot
Everything you do should be aimed at getting your weight forward over the center of the surfboard, this way we can keep our speed, whilst staying in control.
A surfboard can be ridden with both feet standing pointing forward in the very centre of the board – the volume and design of a surfboard makes this possible so that when you change your feet it makes sense that you want all your weight over this spot with your feet shifting around underneath you.
There is a lot of small subtle techniques to master to get yourself in and out of this position but you should initially focus on three important Key Elements…
Focus on Three Key Elements
Whether you are changing your feet first (ready for a toeside to heelside carve), or swapping them after (with a heelside to toeside carve), the fundamental skills are the same:
The Kite – Moving Up
- You want the kite moving up slowly
- This allows you to get some weight off the board
- Making it easier for you to shift your weight forwards
The Bar – Sheeting In
- Sheet the bar in as you bring your back foot forwards
- Again it momentarily gets your weight off the board, by pulling you up from your harness
- Your legs will then find it easier to move underneath you
The Board – Carving Upwind
- Carve upwind just before moving your back foot forward
- This naturally allows your body weight to shift forward over your front leg
- It can also help to stabilize the board and even slow it down slightly
The video below is an excerpt from theToeside to Heelside video, focusing on a Key Element from the Board & Legs chapter. It illustrates the action of the board carve in relation to the foot change:
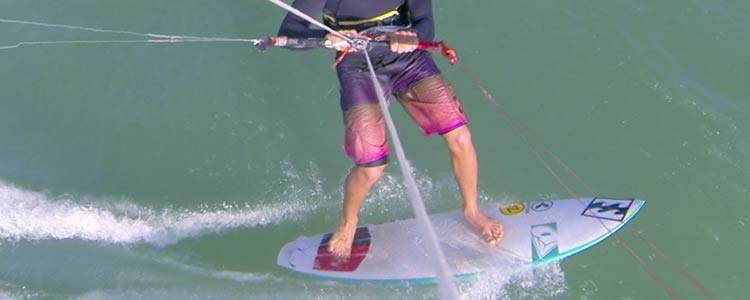
Legs and Core – Use Those Muscles
This video excerpt also shows the importance of actively using your legs and core strength whilst moving your feet. It’s easy to be a bit lazy, stumble around board, let the kite’s power and board’s momentum move you around, but this is a common reason why people end up out of position and falling off. When you bring your back foot forwards – push your hips forwards by engaging your core muscles to bring your body upright, and really drive off your front leg. =
Give it a go the next time you try the foot change and see what a difference actively using your lower body strength can have on your control through the foot swap.