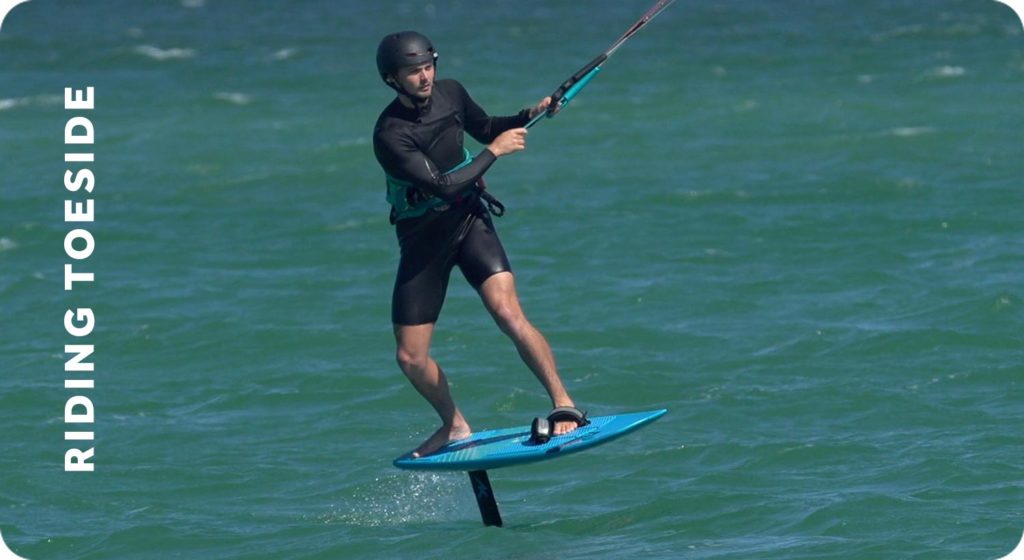
As more and more people learn to kitefoil, they move on from the thrill of just foiling back and forth and want to turn around staying on the foil all the time. Last year I released the First Gybes – Off the Foil video which allowed you to change direction and stay drying by dropping off the foil for the carve, toeside and foot change but now we are building on this with a full collection of videos that will cover all aspects of gybing on the foil. Today we start with Foiling Toeside and then further videos being released over the coming weeks – read on to find out more…
Breaking Down the Foiling Gybe
As with the off the foil gybe you’re carving the foil and board downwind around 180 degrees. We can start on our heelside, carve down to toeside and that is a gybe but often we refer to the full gybe being completed if we then do a foot change so we are back riding heelside.
And we can also do the opposite – starting heelside, first do the foot change so we are riding toeside, then carve downwind, through 180 degrees ending up heading the opposite direction on your heelside again.

The Foiling Gybes Collection breaks these techniques does into three main videos:
- Riding Toeside OUT NOW
- Carving Turns (Coming soon)
- The Foot Change (Coming soon)
Along with a free Introduction to Foiling Gybes video (coming soon) which sets everything up.
Today I’m releasing the first of these videos – Riding Toeside. I didn’t want to hold back all videos until they are all completed as each video can be view on its own and will help with those specific techniques.
As I finish each video, over the next few weeks, I’ll be releasing them and once all 4 videos are released you’ll be able to purchase them all as the Foiling Gybes Collection. But there is no need to wait for the full collection, you buy the Riding Toeside video today and when the full collection is available you’ll get the price of that video (or any others you buy) deducted from the Collection price. You can read more about how our Complete the Collection feature works.here.

Riding Toeside – OUT NOW
Riding toeside is the lynchpin of the gybe and all its component parts. If you are carving around you’ll have to start or end on your toeside and the same for the foot change. At some point you are going to end up in this position so I think its the best place to start!
Now some people pick up toeside riding relatively easily, your foil and the conditions you ride in can help or hinder you, but for most people, it feels unbalanced and like a horse ready to try and kick you off.
So understanding the key elements that will make toeside riding more comfortable can make the difference so when you make it round that carve or foot change you’ll be ready to gain control and keep foiling.
This video has two progressions, starting with riding broad in a more stable stance so you can get comfortable and build up some confidence before we transition into the second Progression, riding closer to the wind, handling more power with a stronger stance.
You can buy the Foiling Gybes: Riding Toeside video today, here on the Progression website and start streaming it immediately or head over to the Progression App on your iOS or Android devices and download it there.
Learn to Ride Toeside on the Foil Today
When are the next videos being released?
I know the number one question will be when the next videos will be released – my only answer, for now, is when they are ready! The toeside video got rewritten 3 times with the finished edit then ripped apart and reworked before I got to the video I am now happy with AND releasing today. The same is true of the Carving Turns video, which is actually the most complicated video to write as there are many variables to consider and so much is dependant on your foil, kite, wind strength and kiting experience – my second attempt at the script is looking good so finger cross it will come together quickly. Bare with me, I am working as quickly as I can (alongside, coaching, marketing, support and app/web development). But as always, if you have any questions please get in touch.